 Hyundai Azera: Power Window Switch Repair procedures
Fifth generation HG (2011–2026) / Hyundai Azera 2011-2026 Service Manual / Body Electrical System / Power Windows / Power Window Switch Repair procedures
Hyundai Azera: Power Window Switch Repair procedures
Fifth generation HG (2011–2026) / Hyundai Azera 2011-2026 Service Manual / Body Electrical System / Power Windows / Power Window Switch Repair procedures
Fifth generation HG (2011–2026) / Hyundai Azera 2011-2026 Service Manual / Body Electrical System / Power Windows / Power Window Switch Repair procedures
| Inspection |
Driver Power Window Switch
| 1. |
When checking the driver power window switch, select a vehicle type and "IPM" menu. |
| 2. |
Select "DDM (Driver Door Module)". |
| 3. |
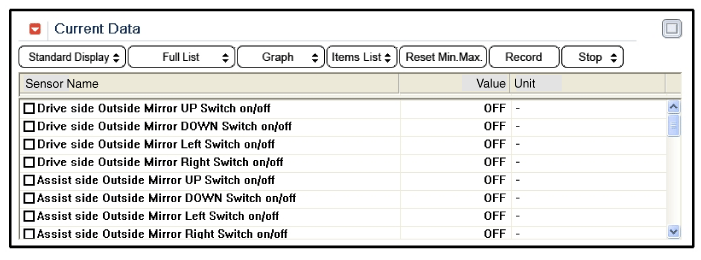
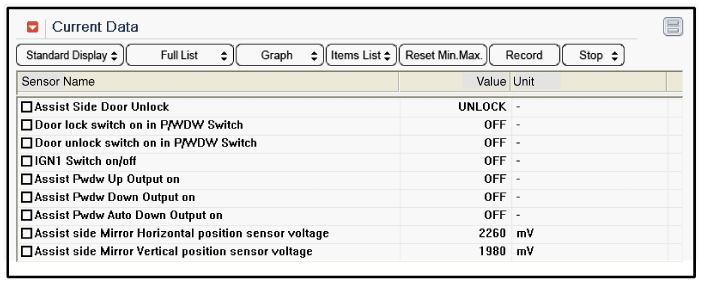
Select option "Input/Output monitoring".
|
| 4. |
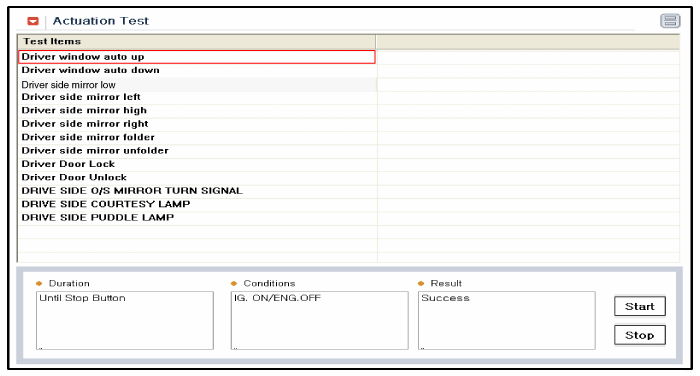
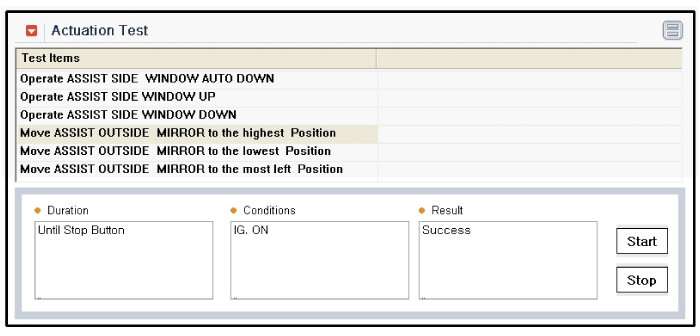
To check the input value of power window switch in force mode, select option "ACTUATION TEST".
|
Assist Power Window Switch
| 1. |
When checking the assist power window switch, select a vehicle type and "IPM" menu. |
| 2. |
Select "ADM (Assist Door Module)". |
| 3. |
Select option "Input/Output monitoring".
|
| 4. |
To check the input value of power window switch in force mode, select option "ACTUATION TEST".
|
| Removal |
| Driver Power Window Switch |
| 1. |
Disconnect the negative(-) battery terminal. |
| 2. |
Remove the front door trim panel.
|
| 3. |
Disconnect the power window switch module connector (A) from the wiring harness.
|

| 4. |
Remove the power window switch module (B) from the door trim after loosening the mounting screws.
|

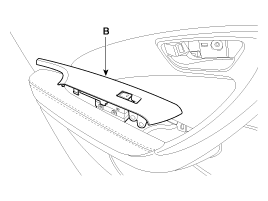
| Passenger Power Window Switch |
| 1. |
Disconnect the negative (-) battery terminal. |
| 2. |
Remove the front door trim panel.
|
| 3. |
Disconnect the connector from the power window switch module. |
| 4. |
Remove the power window switch module (A) from the door trim after loosening the mounting screws.
|
| 5. |
Remove the power window switch after loosening screws. |
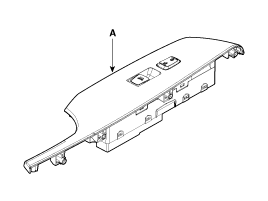
| Rear Power Window Switch |
| 1. |
Disconnect the negative (-) battery terminal. |
| 2. |
Remove the rear door trim panel.
|
| 3. |
Disconnect the connector (A) from the power window switch module. |
| 4. |
Remove the power window switch module (B) from the door trim after loosening the mounting screws.
|

| 5. |
Remove the power window switch (A) after loosening the fixing clip.
|

| Installation |
| 1. |
Install the power window switch module. |
| 2. |
Install the door trim panel after reconnecting the relevant connectors
|
 Power Window Switch Schematic Diagrams
Circuit Diagram
Driver Power Window Switch (1)
Driver Power Window Switch (2)
Passenger Power Window Swich
Rear Power Window Swich
...

See also:
General Information
Identification Number
Identification Number Description
Vehicle Identification Number
1.
World Manufacturer Identifier (WMI)
A.
KMF : Commercial vehicle (Van)
B.
KMH : Passenger vehicle or ...
Shift Cable Components and Components Location
Components
1. Shift lever knob2. Shift lever assembly 3. Control cable assembly4. Manual control lever (T/M side)
...
Bluetooth® Wireless Technology Setting
Pairing a New Device
Press the key
Select [Phone]
Select [Pair Phone]
Bluetooth® Wireless Technology devices can be paired with the audio system.
For more information, refer to the “Pairin ...
Categories
Hyundai Azera Manuals

© 2011-2026 Copyright www.hgmanual.com