 Hyundai Azera: Room Lamp Repair procedures
Fifth generation HG (2011–2026) / Hyundai Azera 2011-2026 Service Manual / Body Electrical System / Lighting System / Room Lamp Repair procedures
Hyundai Azera: Room Lamp Repair procedures
Fifth generation HG (2011–2026) / Hyundai Azera 2011-2026 Service Manual / Body Electrical System / Lighting System / Room Lamp Repair procedures
Fifth generation HG (2011–2026) / Hyundai Azera 2011-2026 Service Manual / Body Electrical System / Lighting System / Room Lamp Repair procedures
| Removal |
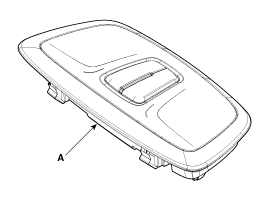
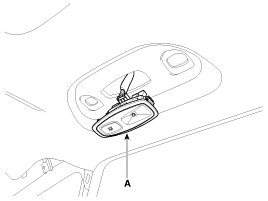
Room lamp(General type)
| 1. |
Disconnect the negative(-) battery terminal. |
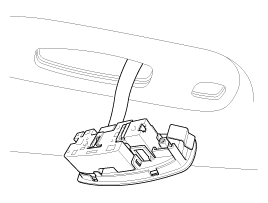
| 2. |
Remove the room lamp assembly (A) with (-) screwdriver.
|
| 3. |
Remove the LED bulb (A).
|
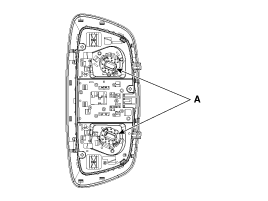
Room lamp(Panoramaroof type)
| 1. |
Remove the lens (A) with (-) screwdriver.
|
| 2. |
Replace the bulb after disconnecting a connector.
|
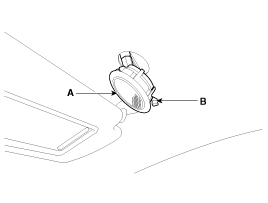
Vanity lamp
| 1. |
Disconnect the negative(-) battery terminal. |
| 2. |
Remove the lens (A) with pushing the fixing clip (B).
|
| 3. |
Replace the bulb after disconnecting a connector. |
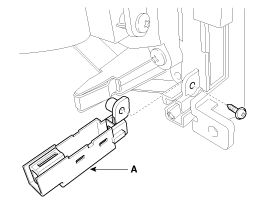
Mood lamp (Crash pad in the left side)
| 1. |
Remove the crash pad LH garnish assembly.
|
| 2. |
Remove the LH mood lamp (A) after disconnection a connector.
|
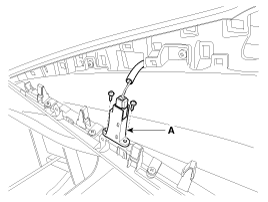
Mood lamp (Crash pad in the right side)
| 1. |
Remove the crash pad RH garnish assembly.
|
| 2. |
Remove the RH mood lamp (A) after disconnection a connector.
|
| Installation |
Room lamp
| 1. |
Connect a connector. |
| 2. |
Install the lamp assembly. |
| 3. |
Install the lens. |
Vanity lamp
| 1. |
Install the vanity lamp. |
 Head Lamps Repair procedures
Inspection
1.
Check-points upon head lamp failure (HID)
(1)
Check the battery voltage. (Low beam will be on when the battery voltage above 9V.)
(2)
Check the fuse and relay.
(3)
Check th ...
 Overhead Console Lamp Repair procedures
Inspection
Overhead Console Lamp
Remove the overhead console lamp assembly then check for
continuity between terminals. If the continuity is not as specified,
replace the map lamp switch.
...
See also:
Camshaft Components and Components Location
Components
1. RH exhaust camshaft2. RH intake camshaft3. LH intake camshaft4. LH exhaust camshaft
...
Components and Components Location
Components (1)
1. Parking brake pedal2. Parking brake cable3. Equalizer assembly
Components (2)
1. Backing plate2. Operating lever3. Upper spring4. Lower spring5. Adjuster6. Shoe hold down ...
Front Door Module Components and Components Location
Component Location
1. Front door module
...
Categories
Hyundai Azera Manuals

© 2011-2026 Copyright www.hgmanual.com