 Hyundai Azera: Repair procedures
Fifth generation HG (2011–2026) / Hyundai Azera 2011-2026 Service Manual / Body (Interior and Exterior) / Fender / Repair procedures
Hyundai Azera: Repair procedures
Fifth generation HG (2011–2026) / Hyundai Azera 2011-2026 Service Manual / Body (Interior and Exterior) / Fender / Repair procedures
Fifth generation HG (2011–2026) / Hyundai Azera 2011-2026 Service Manual / Body (Interior and Exterior) / Fender / Repair procedures
| Replacement |
|

| 1. |
Remove the head lamps.
|
| 2. |
Loosen the mud guard mounting screws.
|

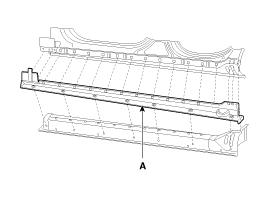
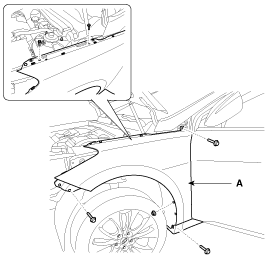
| 3. |
After loosening the mounting screws and clips, then remove the side sill molding (A).
|
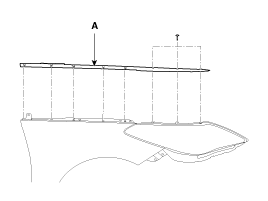
| 4. |
Using a screwdriver or remover, remove the fender garnish (A).
|
| 5. |
Detach the clips and then remove the fender side cover (A).
|
| 6. |
Using a screwdriver or remover, remove the delta garnish (A).
|
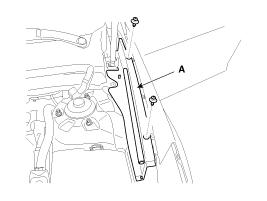
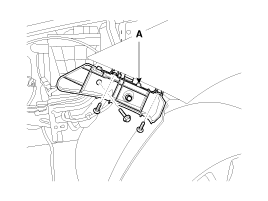
| 7. |
After loosening the mounting screws and bolt, then remove the front bumper side mounting bracket (A).
|
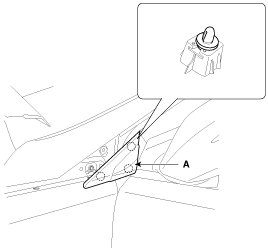
| 8. |
After loosening the fender mounting bolts and nut, then remove the fender (A).
|
| 9. |
Installation is the reverse of removal. |
 Components and Components Location
Component Location
1. Fender
...
 Hood
Hood
...
See also:
Curtain air bag
Curtain air bags are located along both sides of the roof rails above the front
and rear doors.
They are designed to help protect the heads of the front seat occupants and the
rear outboard seat ...
Front Door Window Glass Components and Components Location
Component Location
1. Front door window glass
...
Water pump Components and Components Location
Components
1. Water pump pulley2. Water pump 3. Water pump gasket
...
Categories
Hyundai Azera Manuals

© 2011-2026 Copyright www.hgmanual.com