
 Hyundai Azera: Air Ventilation Seat Repair procedures
Fifth generation HG (2011–2026) / Hyundai Azera 2011-2026 Service Manual / Body Electrical System / Seat Electrical / Air Ventilation Seat Repair procedures
Hyundai Azera: Air Ventilation Seat Repair procedures
Fifth generation HG (2011–2026) / Hyundai Azera 2011-2026 Service Manual / Body Electrical System / Seat Electrical / Air Ventilation Seat Repair procedures
Fifth generation HG (2011–2026) / Hyundai Azera 2011-2026 Service Manual / Body Electrical System / Seat Electrical / Air Ventilation Seat Repair procedures
| Removal |
[Front Seat]
| 1. |
Remove the front seat assembly.
|
| 2. |
Remove the seat back cover and cushion cover.
|
| 3. |
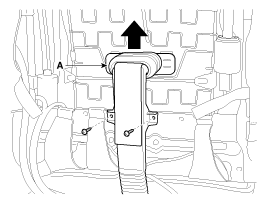
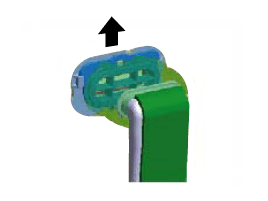
Push up and then remove the ventilation duct (A) after loosening screws.
|
| 4. |
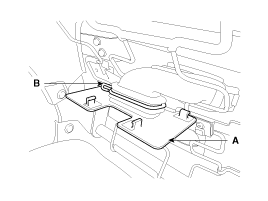
Remove the air ventilation panel (A) and fixing clip (B) from seat cushion.
|
| 5. |
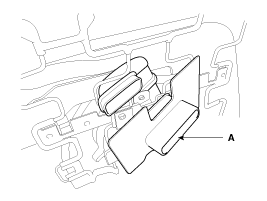
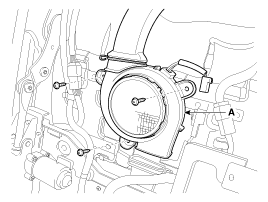
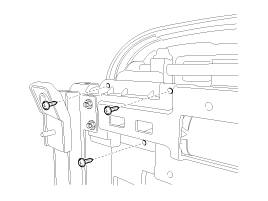
Remove the climate blower and duct (A) after loosening the fixing clips and screws.
|
| 6. |
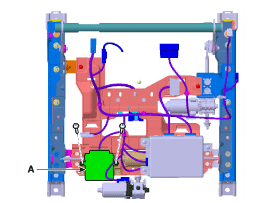
Remove the climate control unit (A) after loosening the mounting screws.
|
| Installation |
[Front Seat]
| 1. |
Install the connectors and air ventilation control unit. |
| 2. |
Install the air ventilation duct and blower. |
| 3. |
Install the seat back cover. |
| 4. |
Install the seat assembly and seat track cover. |
 Air Ventilation Seat Description and Operation
Description
Using the blows power of FAN on seat, remove the moisture, sweat and warmth from occupants and surface of seats.
It inhales the indoor air through the blower installed at the
seat cu ...
 Fuel Filler Door
...
See also:
Schematic Diagrams
Circuit Diagram (1)
Circuit Diagram (2)
Circuit Diagram (3)
SRSCM Connector terminal
Pin Function (Connector A)Pin Function (Connector B)1Ignition1Seat belt pretensioner [Driver] Hig ...
Automatic climate control system (Type A)
1. Front windshield defroster button
2. Fan speed control knob
3. OFF button
4. Rear window defroster button
5. Dual temperature control selection button
6. Mode selection button
7. Passenge ...
A/C Pressure Transducer Repair procedures
Inspection
1.
Measure the pressure of high pressure line by measuring voltage output between NO.1 and NO.2 terminals.
2.
Inspect the voltage value whether it is sufficient to be regular value ...
Categories
Hyundai Azera Manuals

© 2011-2026 Copyright www.hgmanual.com